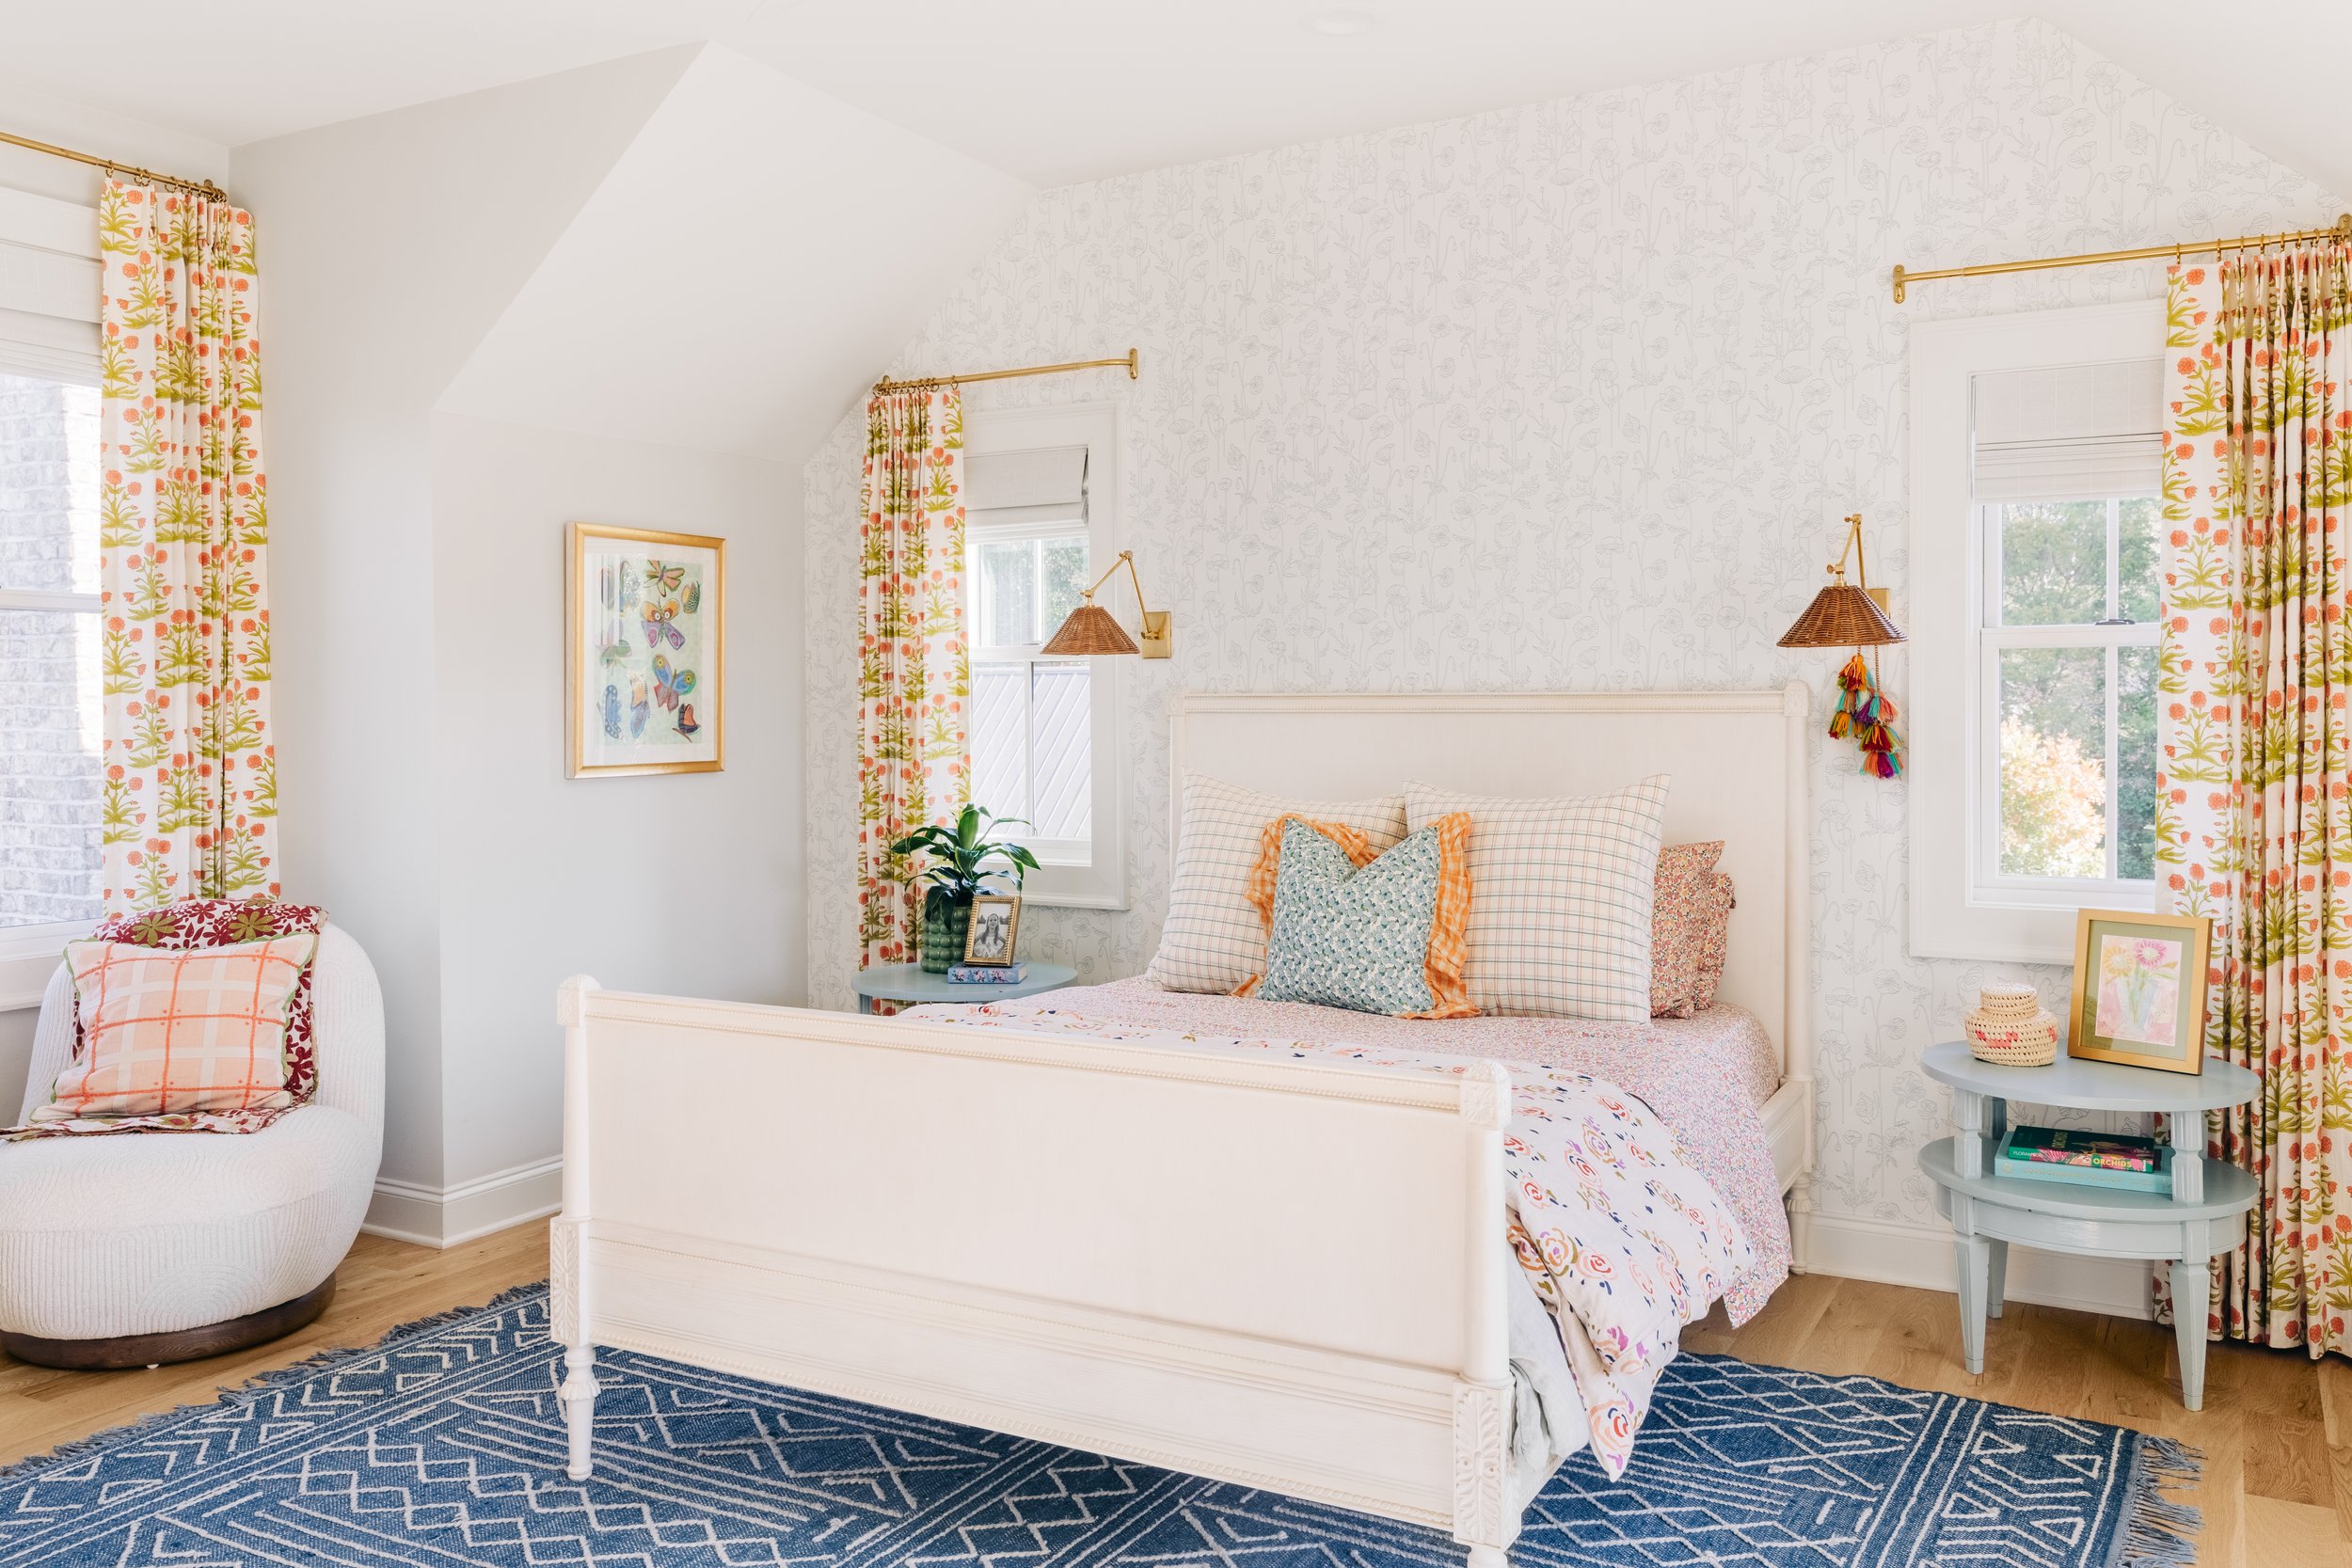
6 DIY Steps For How To Hang Wallpaper With Paste
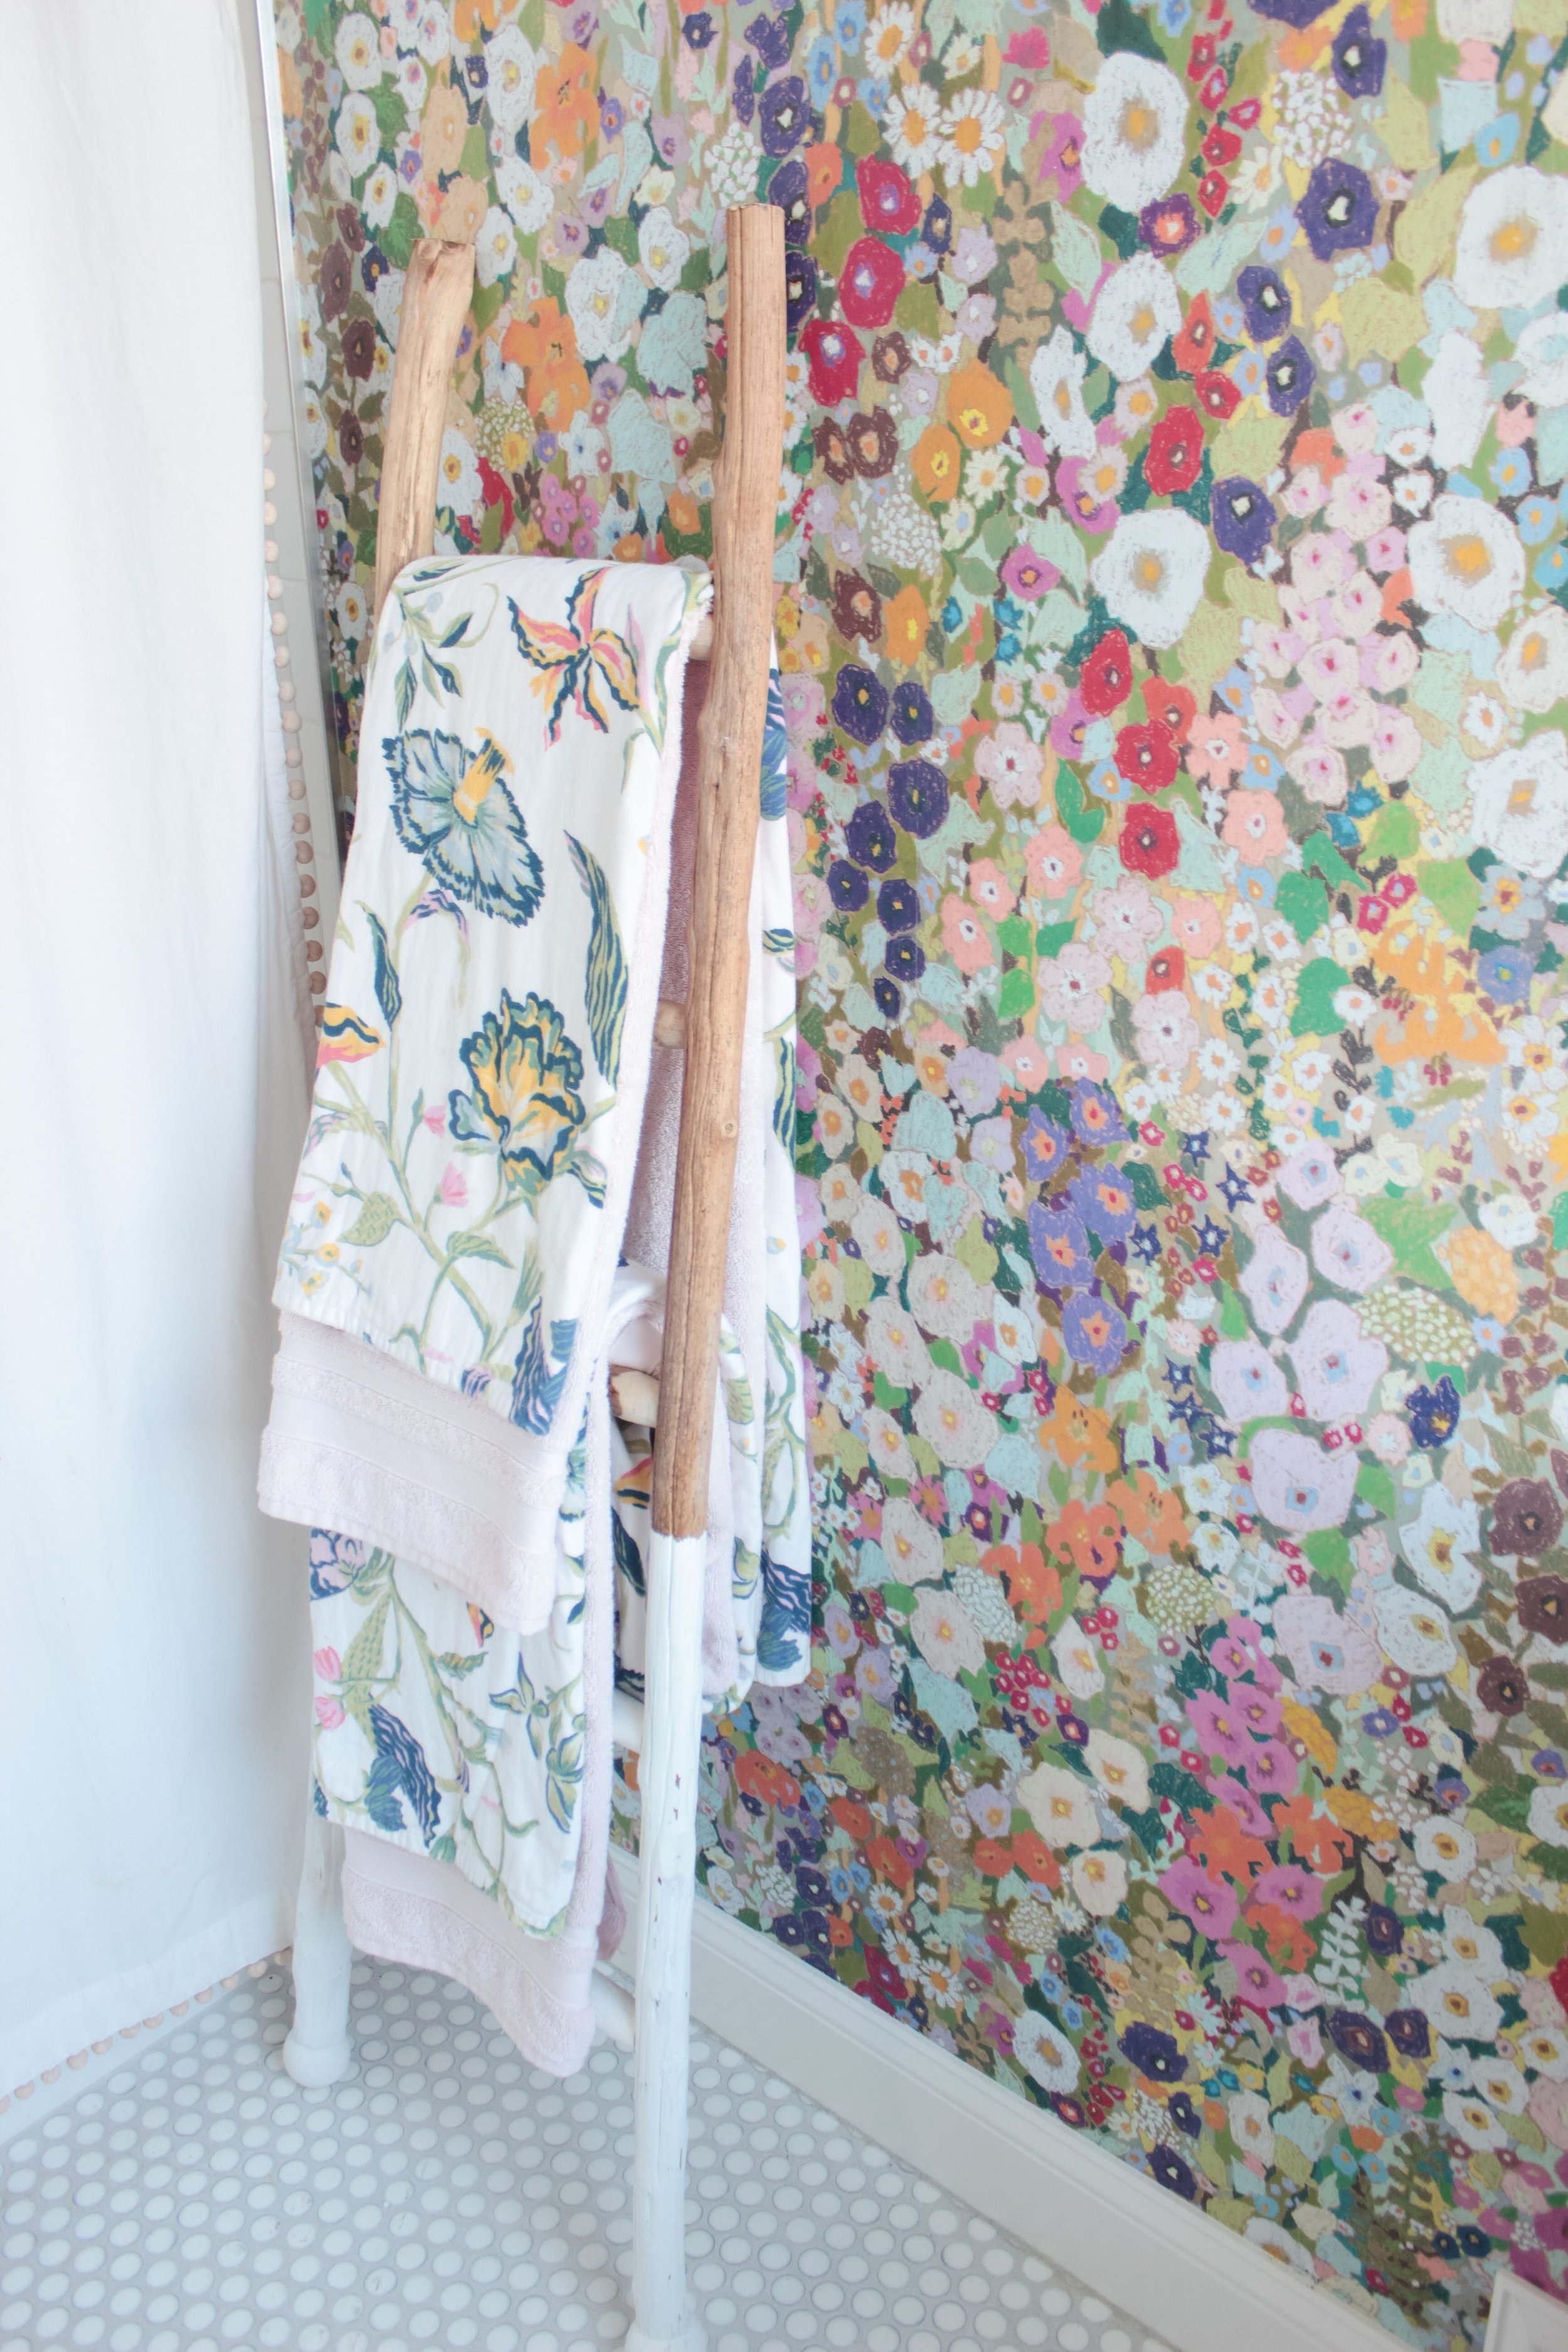
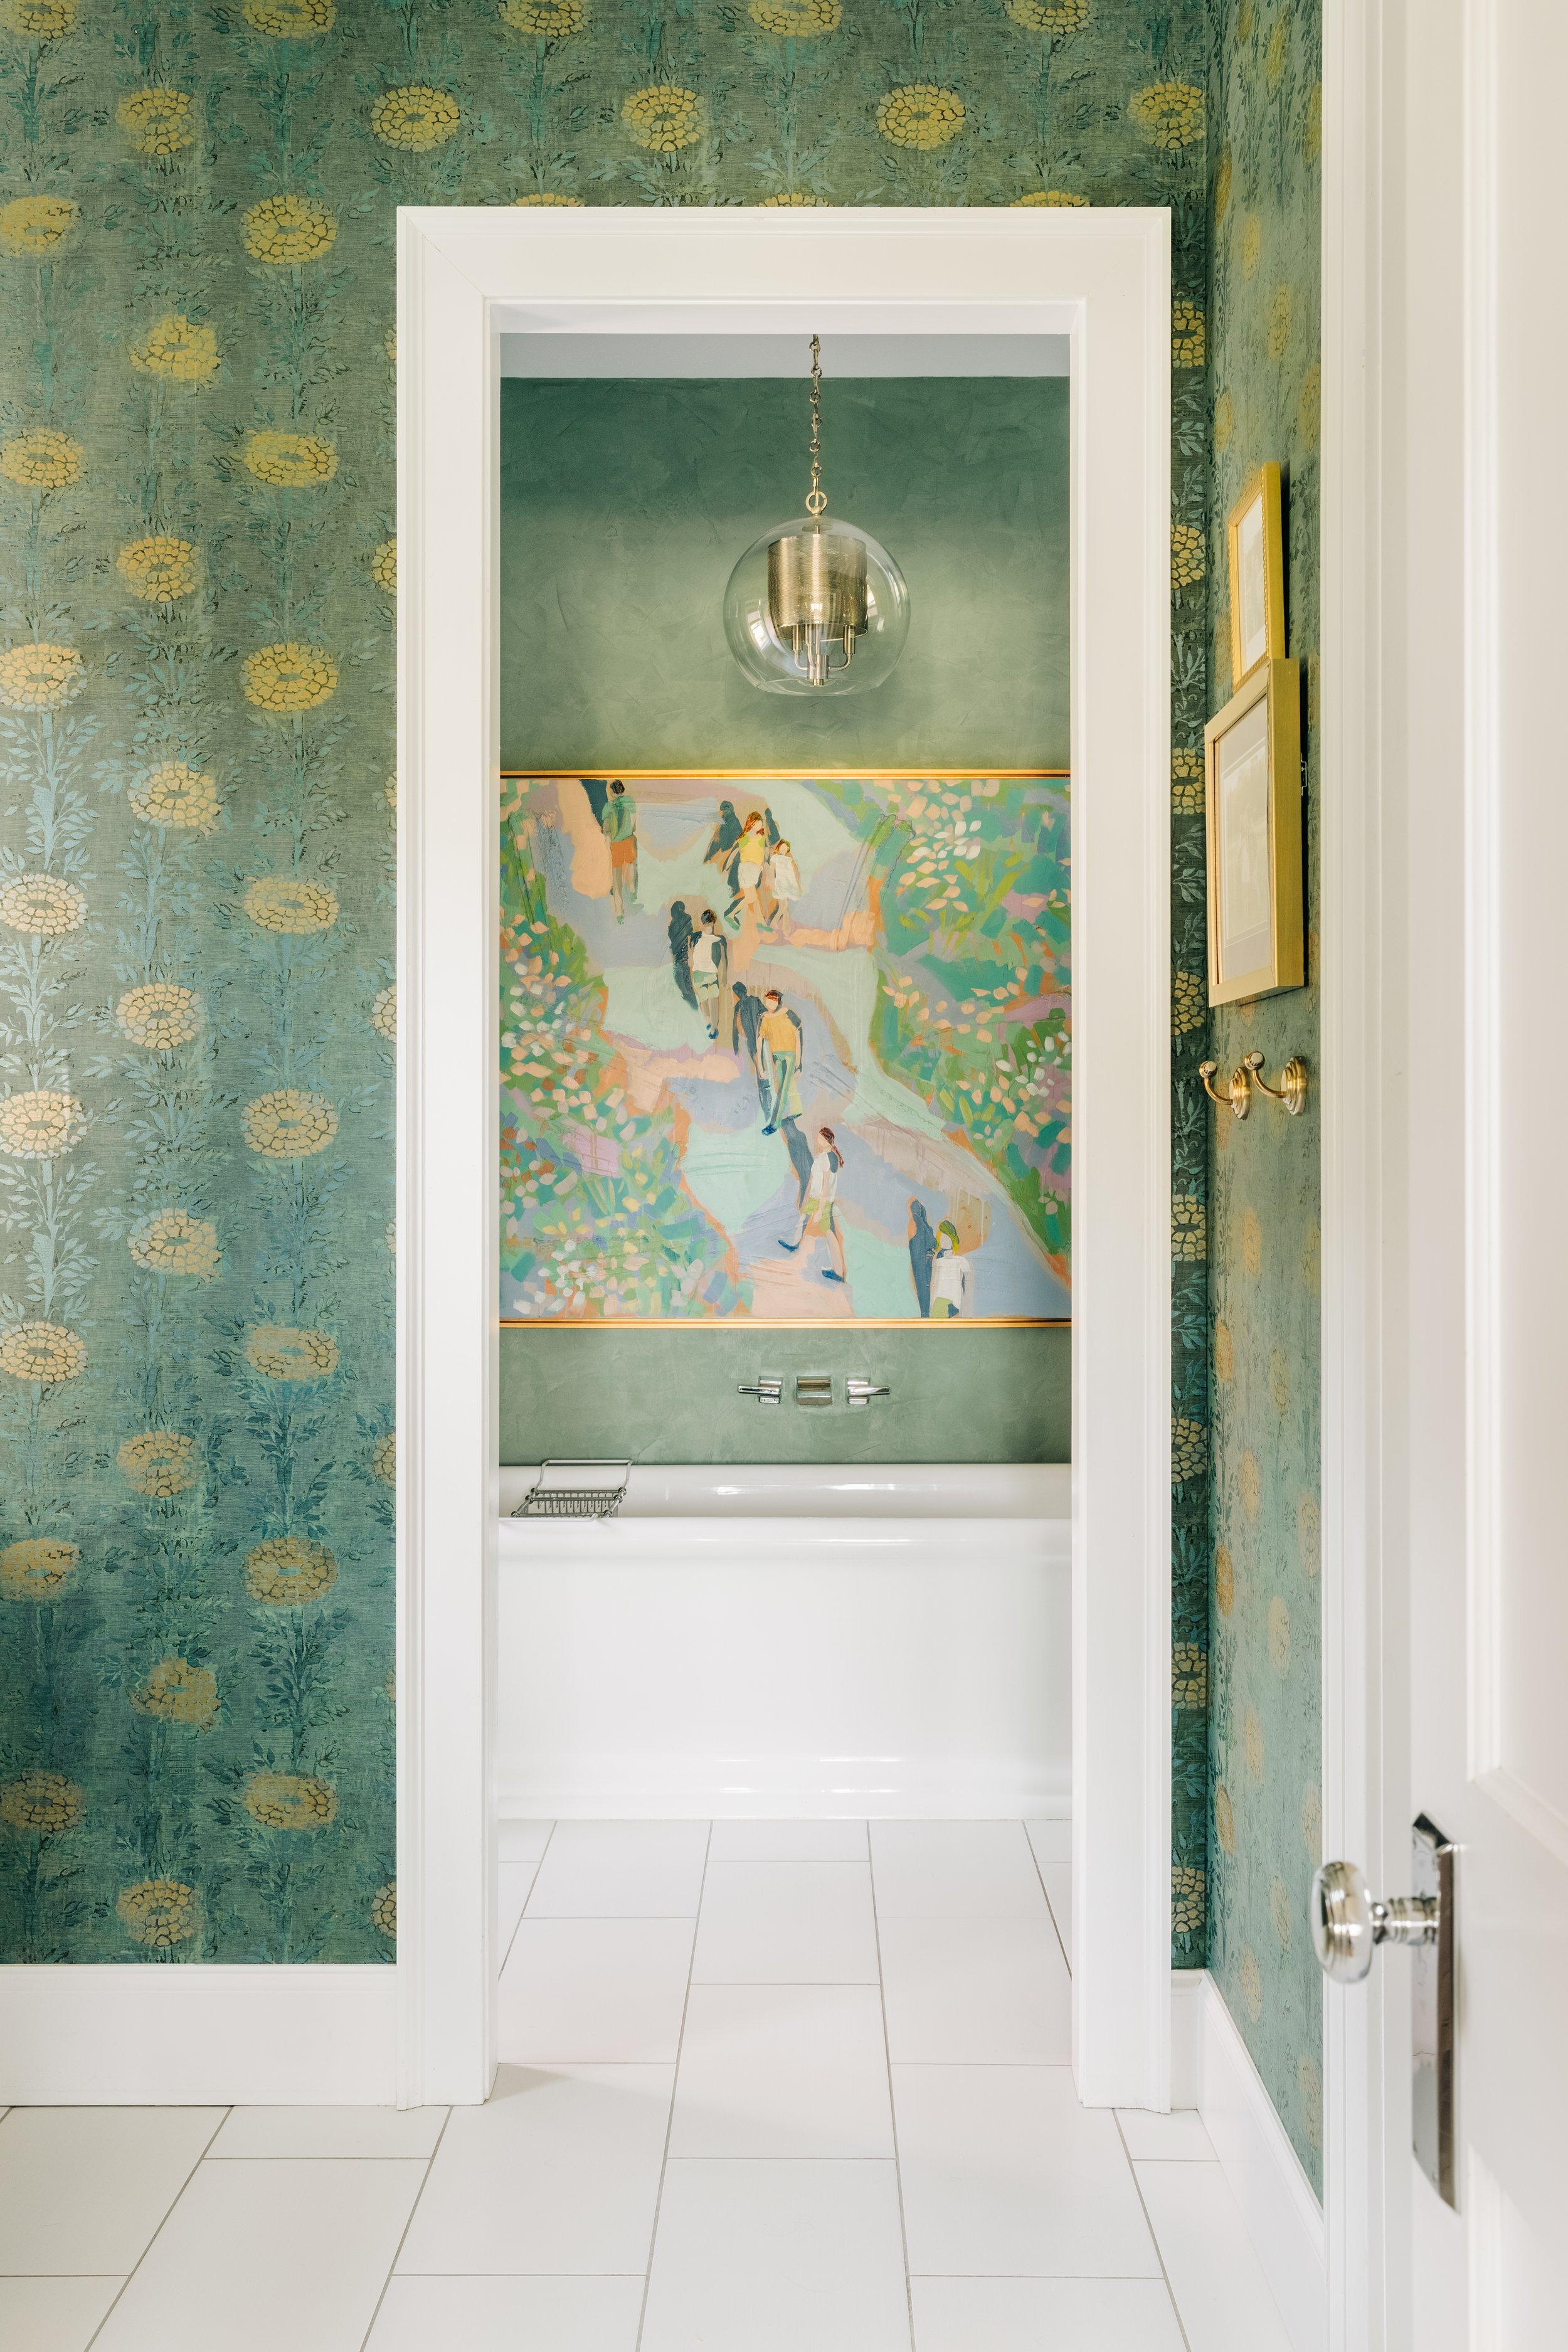
BoCo Interior Designs is the premier provider of Wallpaper Installation in Upstate, SC. We also know many people want to hang their own wallpaper, or at least understand what goes into the process (in order to determine whether it’s worth springing the money to hire professional wallpaper hangers). Once you’ve picked your wallpaper, learn the equipment you need and how to cut the wallpaper to size, apply the paste and make your wallpaper look smooth for many years to come. When you are hanging wallpaper that will transform the walls of your home, here are the 6 DIY Steps For How to Hang Wallpaper With Paste.
And if you’re in Upstate SC, and decide you’d rather have help and want an estimate, call or text Grace at (864) 556-3922, email at bocointeriordesigns@gmail.com or click “Get Started.”
Note: In principle, all existing holes in the walls (including holes from small picture hook nails) should be filled during wall preparation, however, if it is intended that any fixing position will be reused (i.e. for brackets for shelves, etc), these need not be filled and when you come to hang the wallpaper, the positions can be indicated by using a matchstick to project from in each of the holes before the paper is hung and, once the strip has been hung, use the projecting matchstick to puncture the wallpaper - this will show the original position of the fixings.
Materials and Wall Preparation
Before you get started, you’ll need wallpaper and wallpaper paste. Then gather a clean bucket of water, a ladder, a paintbrush and paint roller tray, a pencil, a level, a stirrer, a tape measure, a utility knife, and wallpaper smoother.
You'll want to spend time preparing your walls as everything from dirt to crevices will show through the wallpaper. It goes without saying that before any wallpaper installation, the first thing to do is remove any old wallpaper or paint chips. Observe the surface of your walls, then use a sponge to clean them and a utility knife to remove or smooth any blemishes. If your wall has existing holes, including holes from old picture frames or nails, fill the holes with wall repair or drywall. Once the surface of your walls is smooth and clean you're ready to begin.
Step #1 : Measure
Typically there are instructions that come with the wallpaper you’ve chosen. Make sure to read these, then measure the width of your wallpaper. Once you’ve measured your width, subtract 5 centimeters. Next, from the corner of your wall, use your tape measure to mark the width of your wallpaper (minus 5 centimeters). Now, from that mark, use your level and pencil to draw a straight line up to the top of the wall and down to the bottom of the wall. This line will define where your wallpaper will be, allowing the wallpaper to overlap with the wallpaper next to it. This will allow you to cut it cleanly in the corner once you’ve finished wallpaper hanging.
Step #2 : Mix
It’s time to mix the wallpaper paste. Start by reading the instructions on the packet, then in your clean bucket pour the directed amount of water in along with the paste. Using a stirrer, mix the water and paste until it is thick and consistent, then pour the wallpaper paste into the paint roller tray.
Step #3 : Apply
Turning the wallpaper over on a smooth flat surface like a long table, apply the wallpaper paste with a roller to the back of the wallpaper. The roller will help you apply the paste with level coverage.
Should I Apply the Paste to the Wall or to the Back of the Wallpaper?
There are two schools of thought. 1) Apply the paste to the back of the wallpaper because if you apply the paste directly to the wall, the material might bubble and wrinkle. 2) There are specific wallpaper products that are designed for ‘paste-the-wall’ application, making wallpaper hanging easier and arguably faster. Our insight? It’s all about the quality of your wallpaper. If your wallpaper is handpicked and custom-designed, apply the paste to the back of the wallpaper. Otherwise, if you’re just looking to get ‘er done fast, and you’ve picked wallpaper that is compatible, paste the wall.
Step #4 : Hang
It’s time to hang the wallpaper! Get your ladder and line up the end of the wallpaper roll with the top of the wall, as well as the straight line that runs down the wall. Gently run your hand over the top so that it sticks to the wall, then step down the ladder and unroll the wallpaper until you are at floor level. Finally, below the wall, cut the wallpaper from the roll.
Step #5 : Smooth
Working from the top of the wallpaper to the bottom, take your wallpaper smoother and smooth out all wrinkles, making it smooth. Now, use the utility knife and level to trim the wallpaper in the corner and bottom of the wall.
Step #6 : Repeat
Now repeat the steps for the area next to the initial wallpaper, and continue until you’ve covered your wall(s).
Should I Wallpaper Over Power Outlets?
For areas of the wall that you do not want to cover, like power outlets or holes, once you have hung the wallpaper, make sure to turn off the power. Then, use the utility knife to cut from corner to corner of the hole, leaving an X-shaped cut in the wallpaper, and remove the space you do not want.
And there you have it, 6 DIY Steps For Hanging Wallpaper! If you’re looking for a visual guide, here’s a great video resource for how to hang wallpaper with paste. Also, enjoy other helpful resources like how to decorate a bookshelf, hanging art on bookshelves, when to hire an interior designer vs an interior decorator, and how much does an interior designer cost?


“I love the spaces we created and can already say they are exactly what we needed to make our house the perfect home for our family!”
Interior Design, including Wallpaper Installation in Upstate, SC | Custom Home
Renovation and Wallpaper Hanging
Get A Wallpaper Installation Estimate
Tell us about your wallpapering project.


